
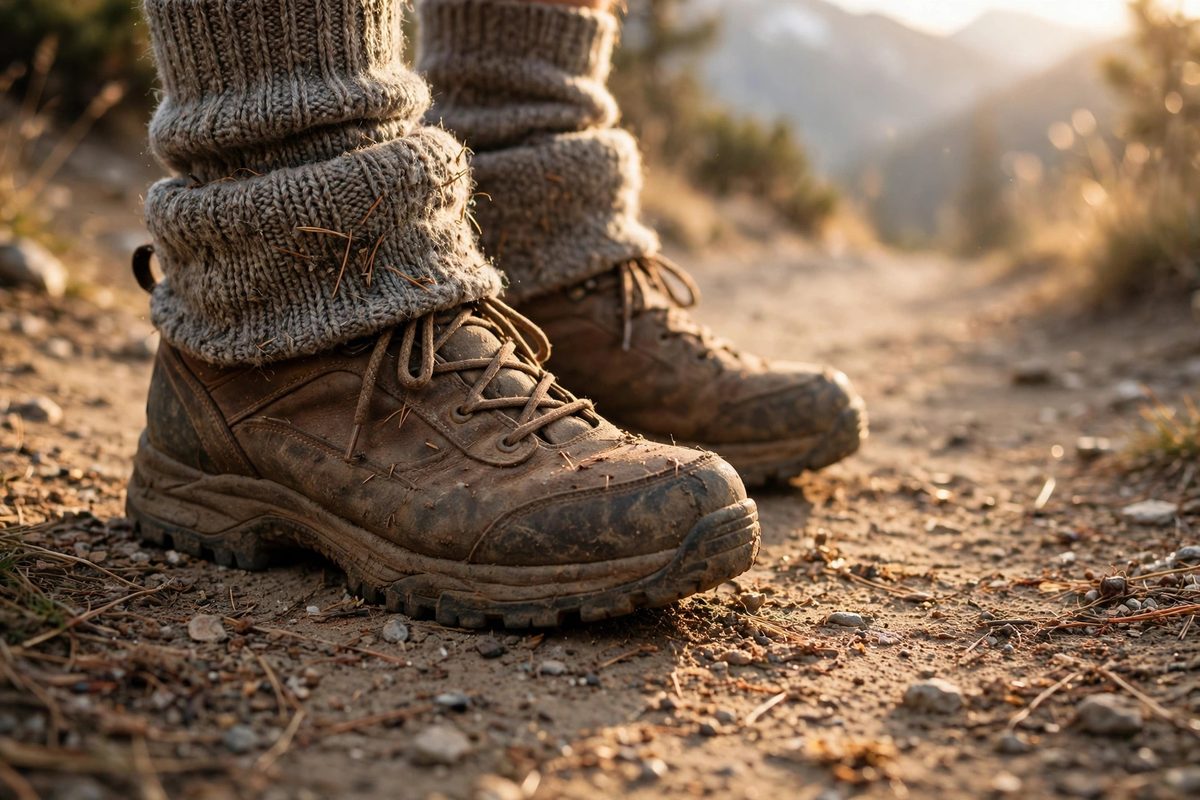
 Featured imageWell-fitted boots and the right socks are the first line of defence against blisters.
Blisters are the most common reason a great hike turns miserable — and one of the easiest problems to prevent. With the right socks, a good boot fit, a little tape and a habit of checking your feet early, you can walk long trails with feet that still feel good at the end of the day.
To prevent blisters hiking, wear a liner sock under a cushioned merino hiking sock, make sure your boots fit with no heel slip, tape spots that rub before you start, and stop at the first sign of a hot spot. Keep your feet dry, change socks on long days, and break in new boots before a big hike.
Position and Plan
Position: A practical, plain-language guide to preventing blisters on long hikes, written for day hikers and backpackers who want to finish the trail without sore, blistered feet.
Plan: Walk through why blisters form, the sock and boot choices that prevent them, taping and hot-spot treatment on the trail, and foot care before and after the hike.
Blister prevention at a glance
| Step | What to do |
|---|---|
| Socks | Liner sock plus a cushioned merino hiking sock — never cotton. |
| Boots | Snug heel, roomy toes, fitted while wearing your hiking socks. |
| Taping | Tape the spots that rub before you start walking. |
| On the trail | Stop at the first hot spot and tape it straight away. |
| Keep feet dry | Change socks at lunch and air your feet out at breaks. |
1. Why blisters form on long hikes
A blister forms when skin is rubbed again and again in the same spot. Friction, heat and moisture work together: damp skin softens, soft skin rubs raw, and the top layer of skin separates and fills with fluid. That is why blisters appear most often on heels, the sides of feet and under toes — the places where a boot moves against skin.
On a long hike the problem multiplies. Ten thousand steps of the same small rub is very different from a short walk to the shops, and a heel that slips a few millimetres with every step will be raw by lunchtime. The good news is that every cause of a blister can be reduced — friction, heat and moisture are all things you can control before and during the hike.
2. The sock system: liners and merino
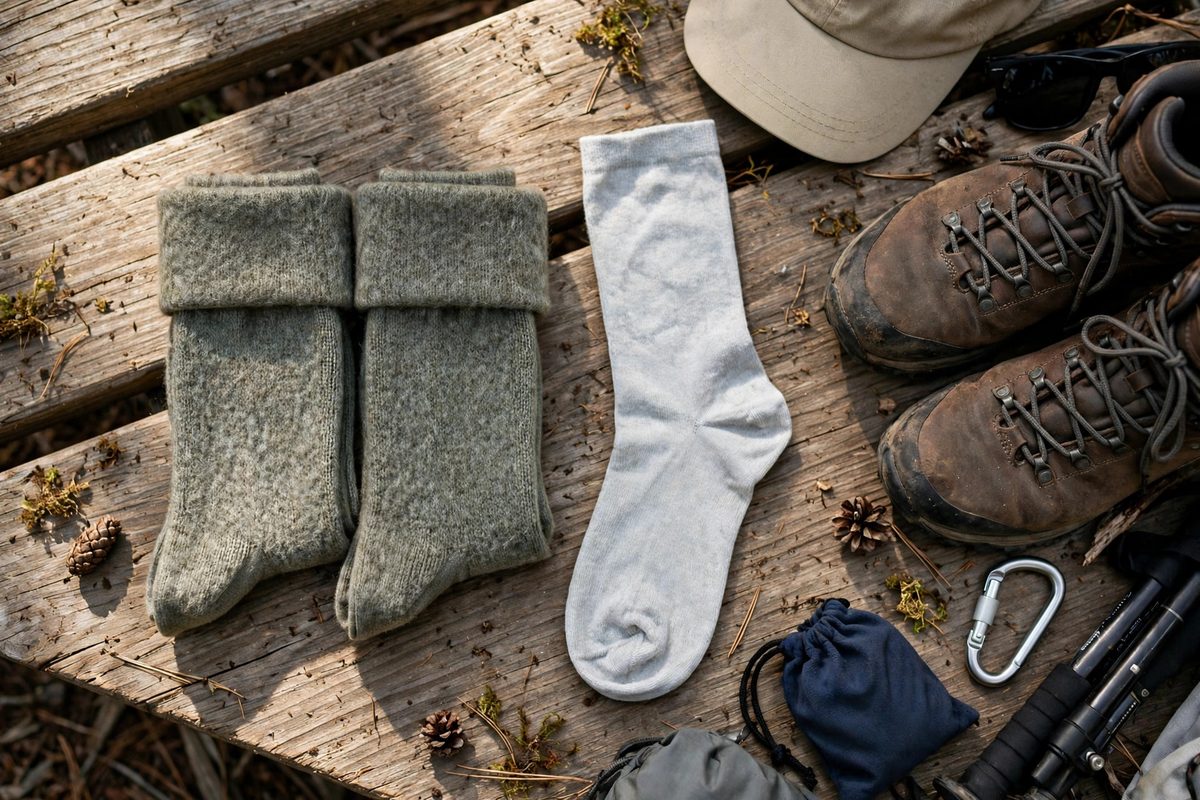
The simplest way to prevent blisters hiking is a two-sock system. A thin liner sock sits against the skin and moves with the foot, while a cushioned hiking sock over the top takes the friction instead of your skin. Merino wool is the usual choice for the outer sock: it wicks sweat, stays warm when damp and cushions the heel and forefoot.
Never hike in cotton socks. Cotton holds sweat, stays wet and turns rough against skin — the fastest route to a blister. Make sure both socks fit smoothly, with no wrinkles or bunched fabric, and carry a spare pair: a dry sock at lunch is one of the best blister fixes on a long day. How each layer moves moisture away from the body is covered in our simple hiking layering system.
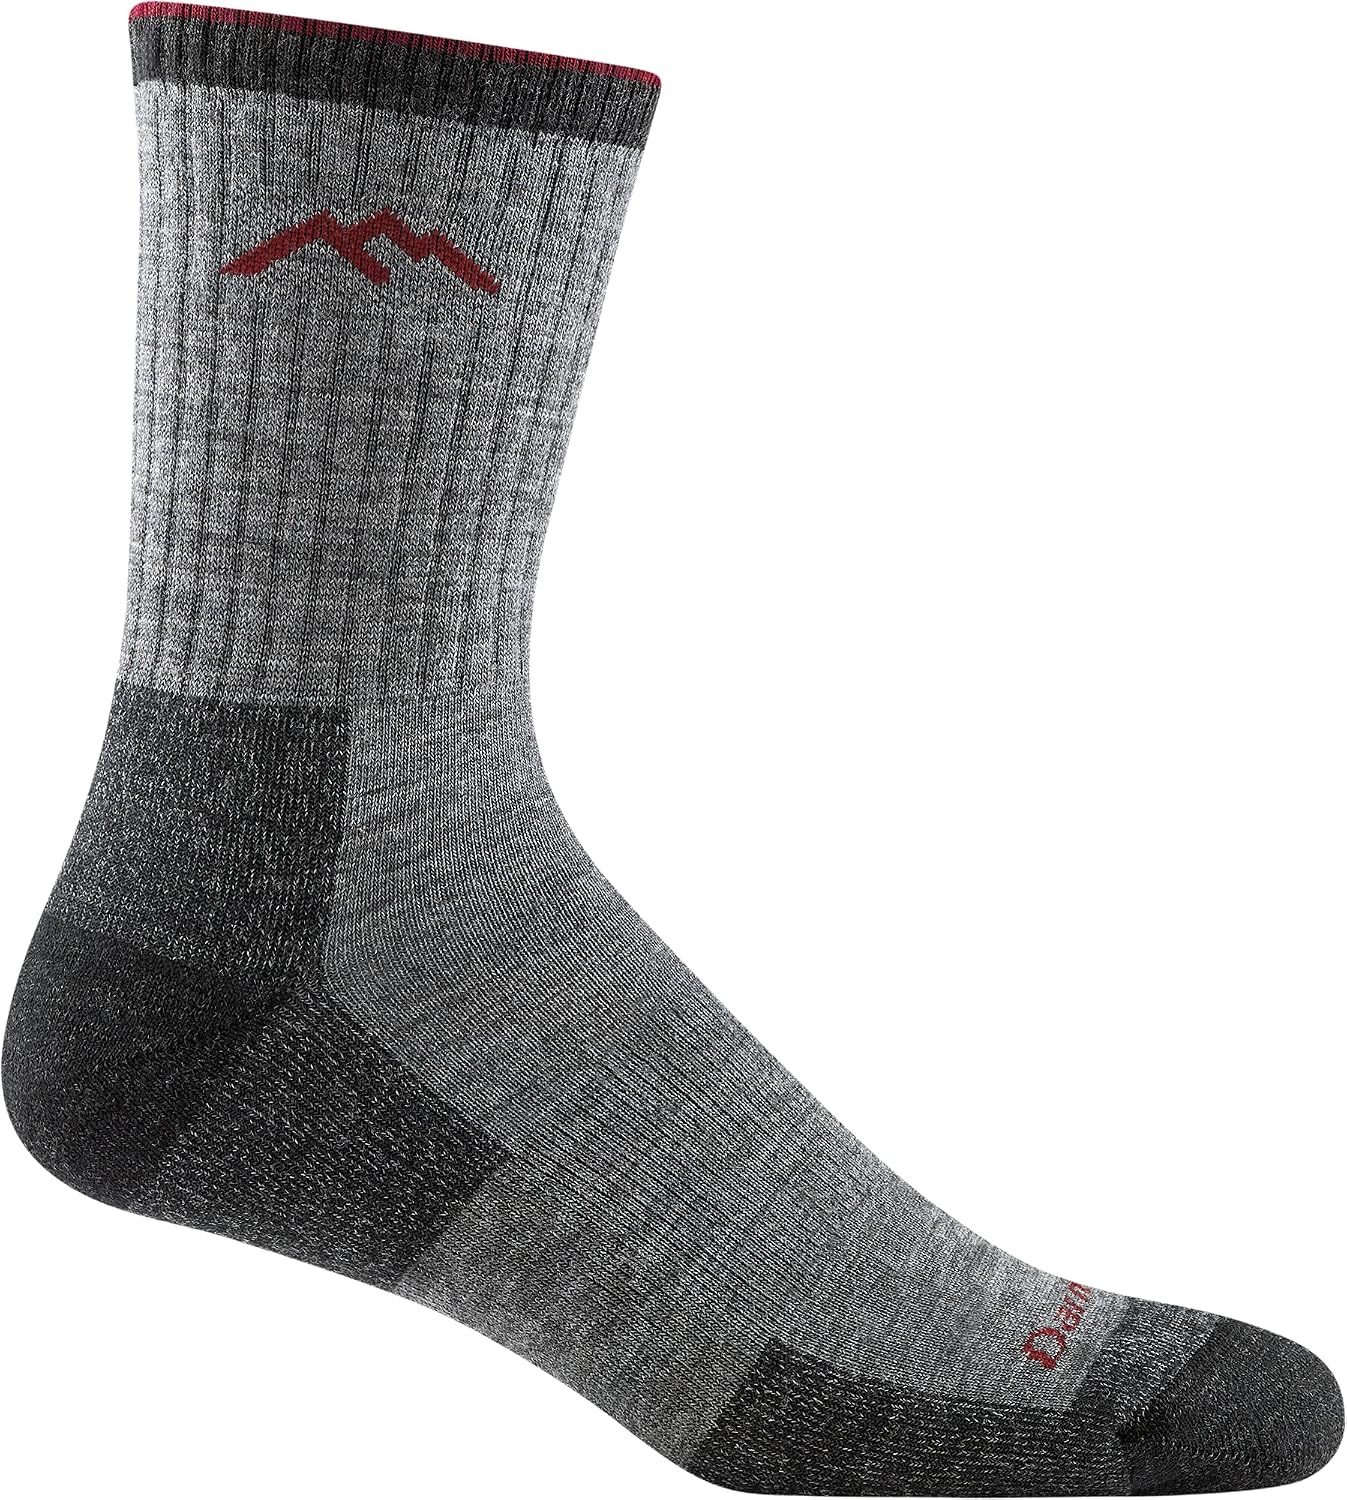
Darn Tough Men's Hiker Micro Crew Cushion Socks
Best for: Hikers who walk long days and want cushion, warmth, and a sock that lasts.
A cushioned merino hiking sock for hikers who want blister protection, warmth, and durability on long days.
Footwear first: shoes, boots, and socks
- Cushioned merino for blister protection
- Warmth that lasts through long days
- Durable construction for repeated use
- You prefer thin liner socks, or you only hike short distances in warm weather.
3. Get the boot fit right
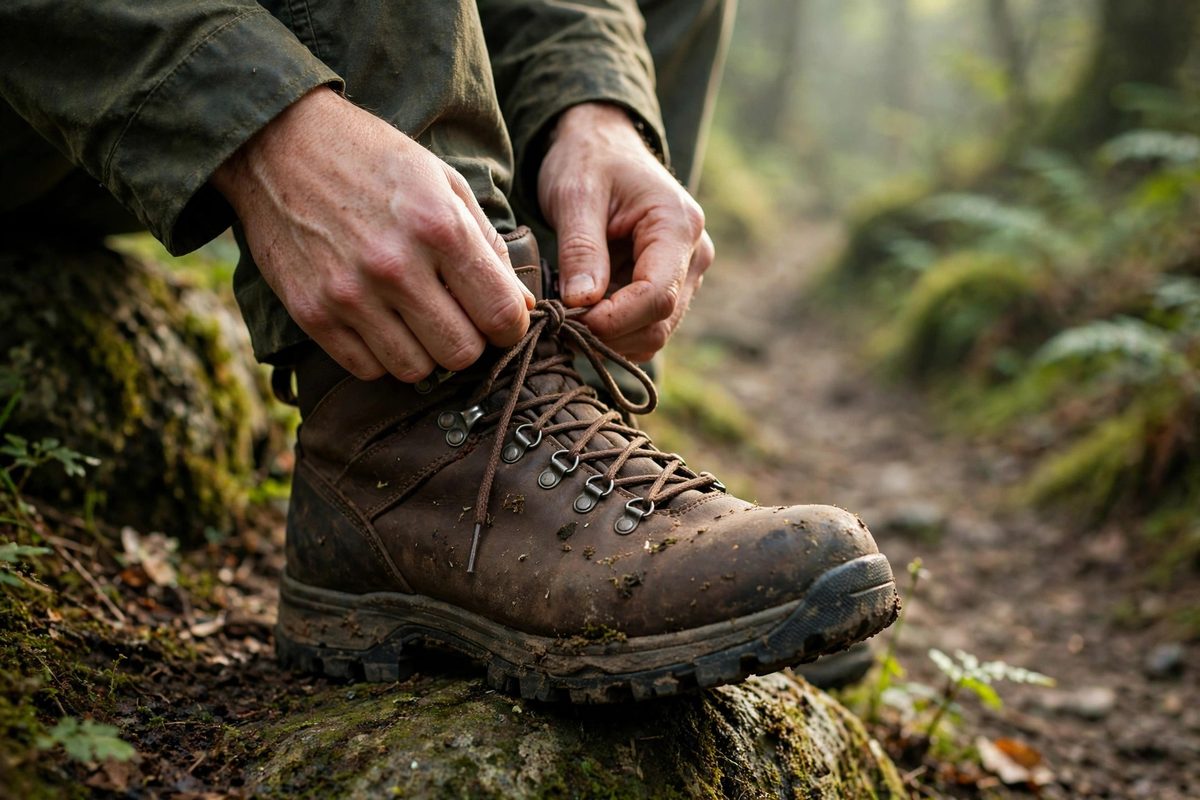
Most blisters start with boots that do not fit. A heel that lifts with every step rubs the same spot until it blisters, and a toe box that is too tight squeezes toes together on every descent. Try boots on in the afternoon, when feet are slightly swollen, and always wear the hiking socks you will walk in. Your heel should stay put when you walk uphill, and your toes should be able to wiggle with about a thumb's width of space at the front.
Lacing matters as much as size. A heel-lock lace — looping the lace back through the top hooks — holds the heel down without crushing the forefoot, and loosening the laces over the instep relieves pressure on long climbs. Our full guide to how hiking shoes and boots should fit walks through the whole fitting check, step by step.
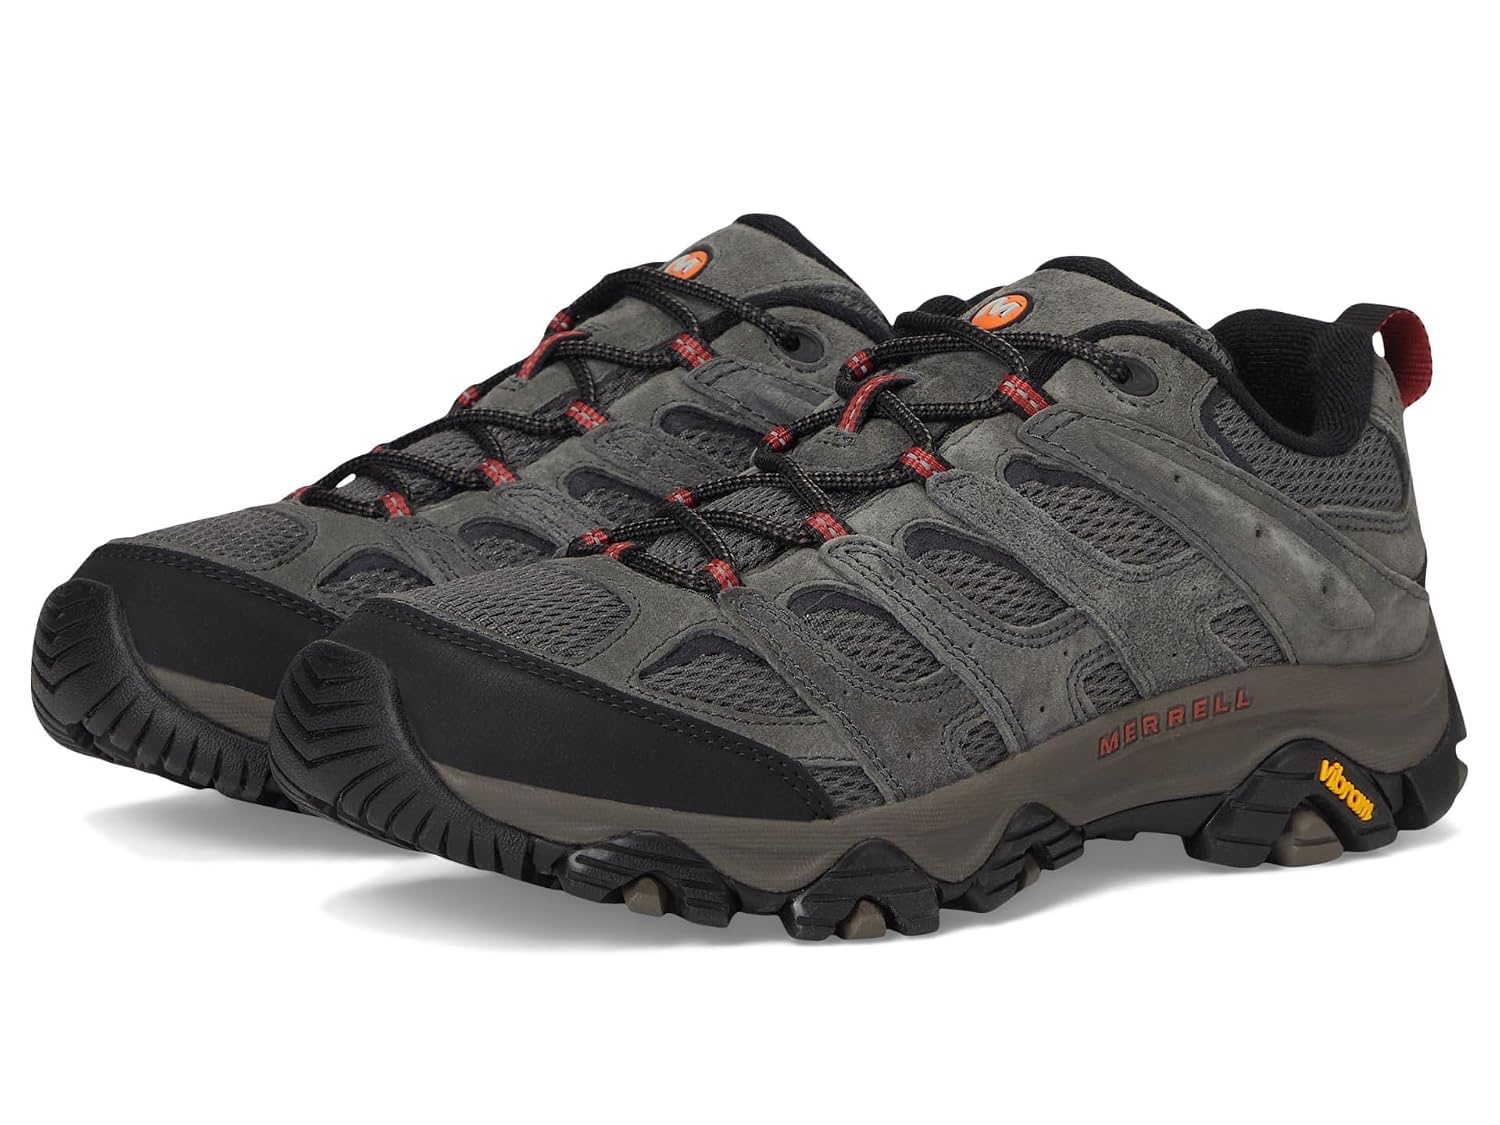
Merrell Moab 3
Best for: Newer hikers and casual trail users who want a forgiving, supportive starting point.
A familiar leather-and-mesh hiking shoe for buyers who value comfort, durability, and an easy break-in curve.
Footwear first: shoes, boots, and socks
- Forgiving fit that suits real hiking socks
- Easy break-in curve for new hikers
- Leather-and-mesh upper for durability
- You need a very light fast-hiking shoe or a narrow technical fit.
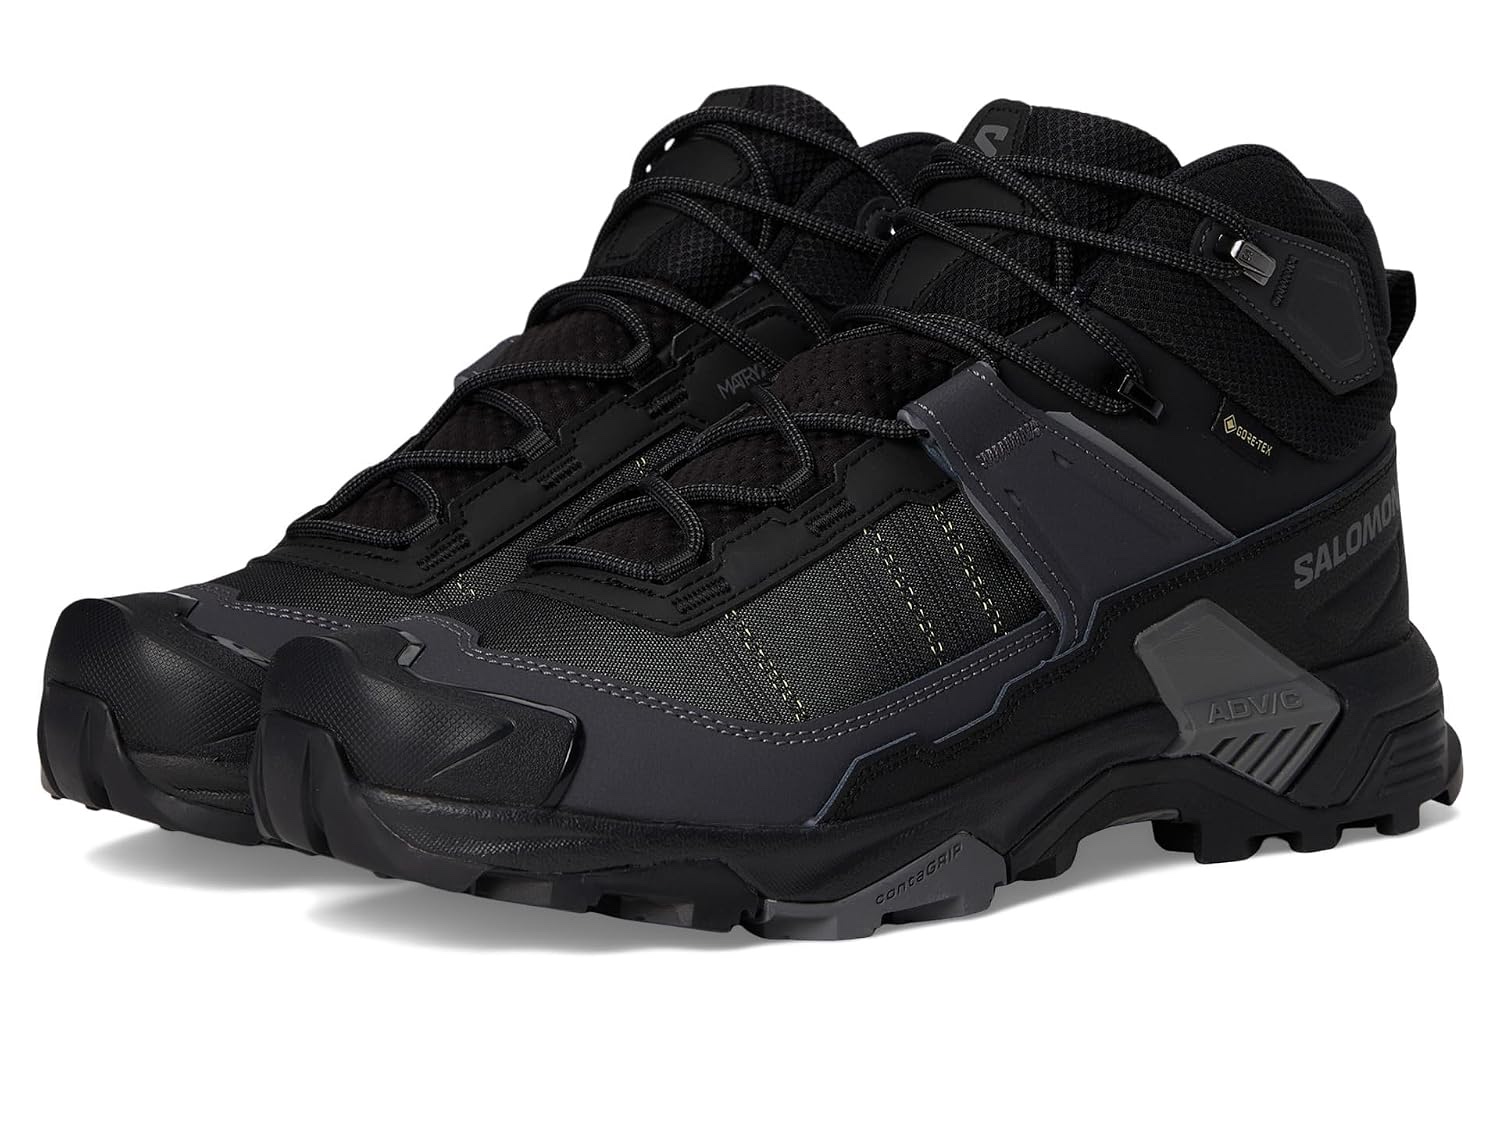
Salomon X Ultra 5 Mid GTX
Best for: Day hikers needing wet-weather protection and a secure foothold on uneven trails.
A supportive waterproof hiking shoe for mixed terrain, wet mornings, and hikers who prefer agility over a heavy boot.
Footwear first: shoes, boots, and socks
- Waterproof protection for wet mornings
- Supportive mid-cut fit for uneven ground
- Agile feel without a heavy boot
- You want a soft road-running feel, wide unstructured toe space, or a non-waterproof summer shoe.
4. Break in new boots before the big hike
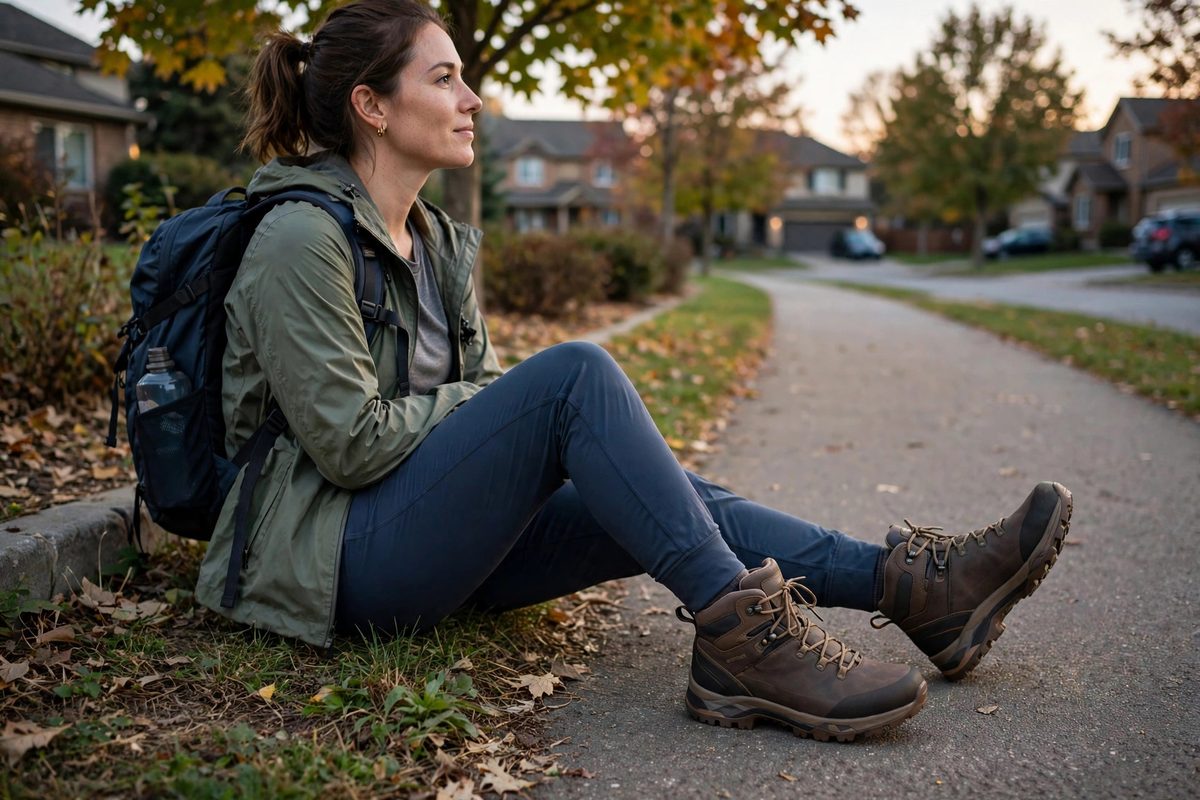
New boots are stiff, and stiff boots rub. Never wear a brand-new pair on a long hike: break them in with short walks first, starting with an hour around the neighbourhood and building up to a full day on the trail with your pack. Two or three weeks of short walks is enough for most modern boots; heavy leather boots may need longer.
Pay attention to what the boots tell you during break-in. A pressure point on the ankle bone or a heel that slips will only get worse with more miles — that is the moment to adjust the lacing, try a different insole or accept that the fit is wrong. A boot that feels good after a full day of break-in walking is a boot you can trust on a long trail.
5. Tape the spots that rub — before you start
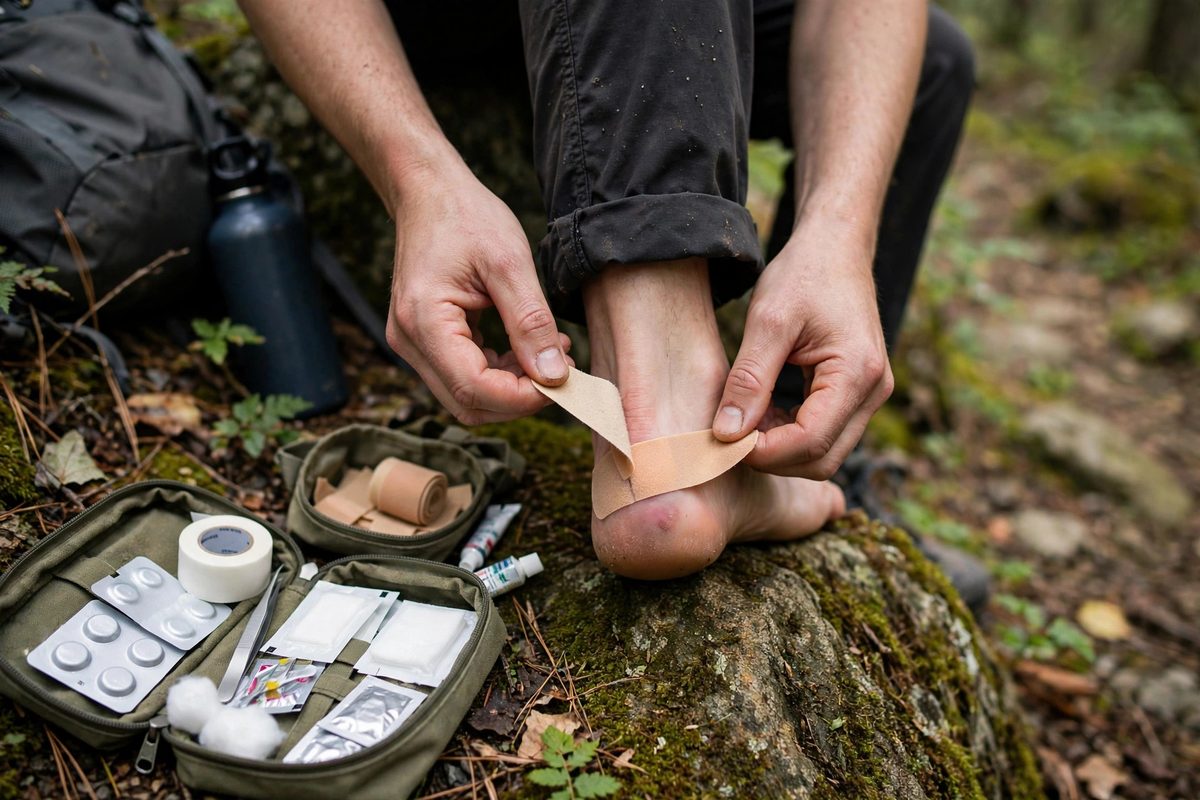
If you know a spot on your foot always rubs — the back of the heel, the little toe, the ball of the foot — tape it before you start walking. Sports tape, moleskin or a dedicated blister tape all work: the tape takes the friction so your skin does not have to. Apply it to clean, dry skin, smooth it flat with no wrinkles, and round off the corners so the edges do not catch and peel.
Taping works best as a habit, not a rescue. On a multi-day hike, tape the same spots every morning before you put your boots on — it takes two minutes and saves a day of limping. If a piece of tape starts to roll at the edges, replace it at the next break rather than waiting for it to fall off mid-step.
6. Stop at the first hot spot
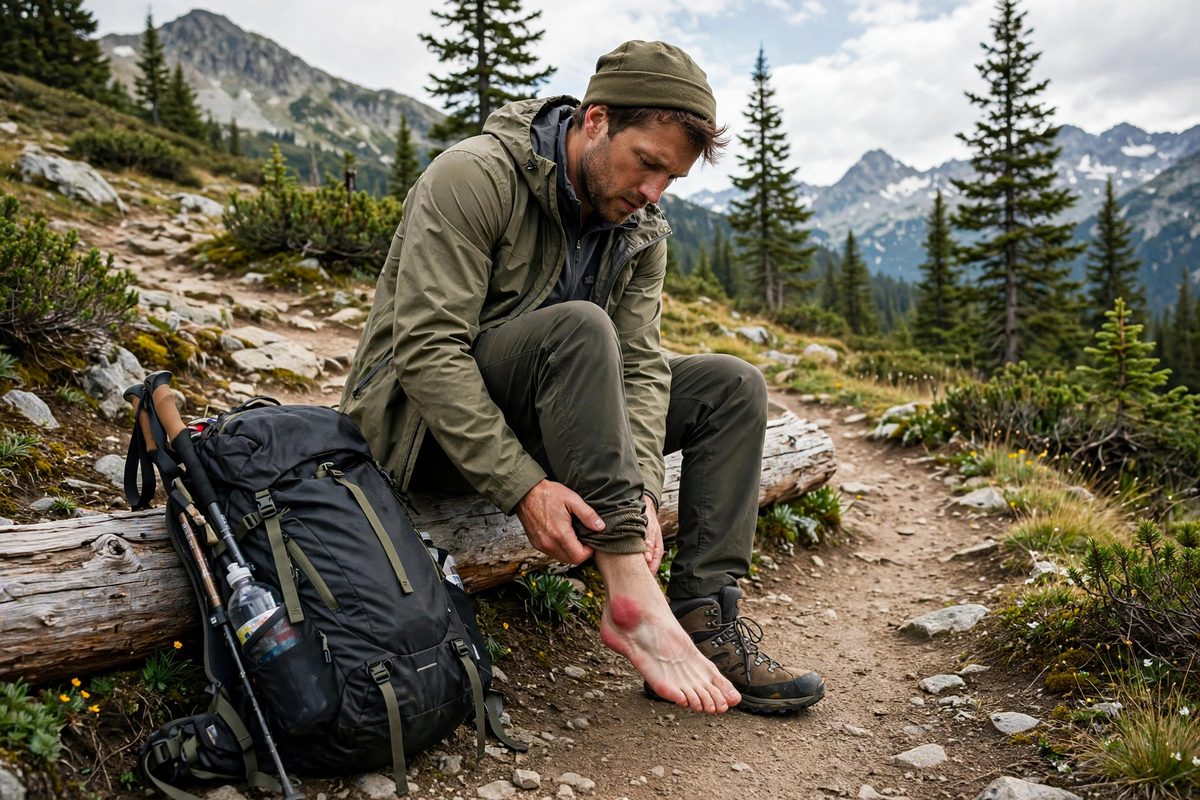
A hot spot is the warm, tender patch of skin that appears hours before a blister. It is the single best warning your feet will give you, and the only correct response is to stop. Take the boot off, let the foot dry for a few minutes, and cover the spot with tape or a blister plaster before you walk another step. A five-minute stop now saves a ruined afternoon.
The mistake most hikers make is waiting for the next break. By then the skin has separated and a blister has formed, and the rest of the hike becomes damage control. Make hot-spot stops part of your routine, like drinking water — and keep tape where you can reach it without unpacking your bag. Our hiking safety checklist includes the small first-aid items worth carrying on every hike.
7. Keep your feet dry on the trail
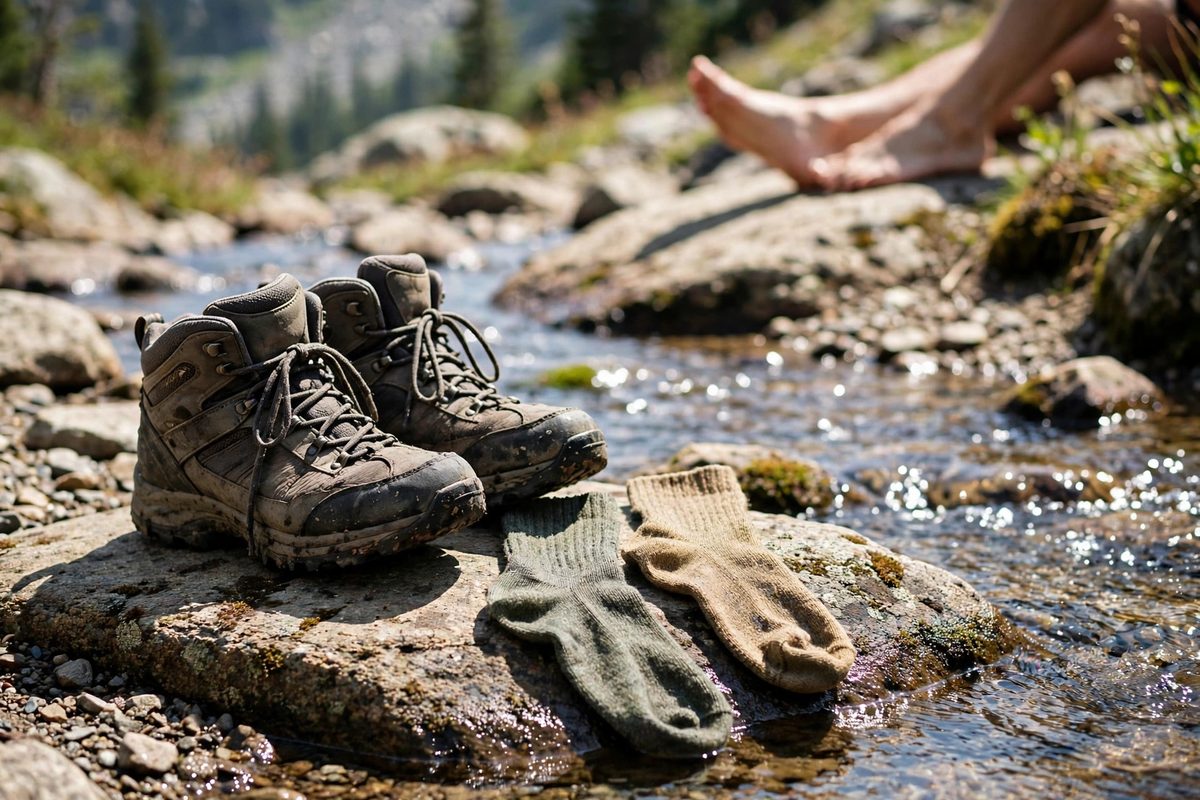
Wet skin is soft skin, and soft skin blisters far faster than dry skin. Stream crossings, rain and plain sweat all soak feet over a long day, so managing moisture is half of blister prevention. Waterproof boots help in wet grass and shallow puddles, but on a hot day they trap sweat — breathable shoes with gaiters are often the better call when the trail is dry.
Change into dry socks at lunch on a long hike, and let the damp pair dry on the outside of your pack. At rest stops, take your boots off and air your feet out for ten minutes: cooler, drier feet blister far less. If your feet are soaked after a river crossing, stop, wring out your socks and walk the next stretch in your spare pair.
8. Toenails, calluses and everyday foot care
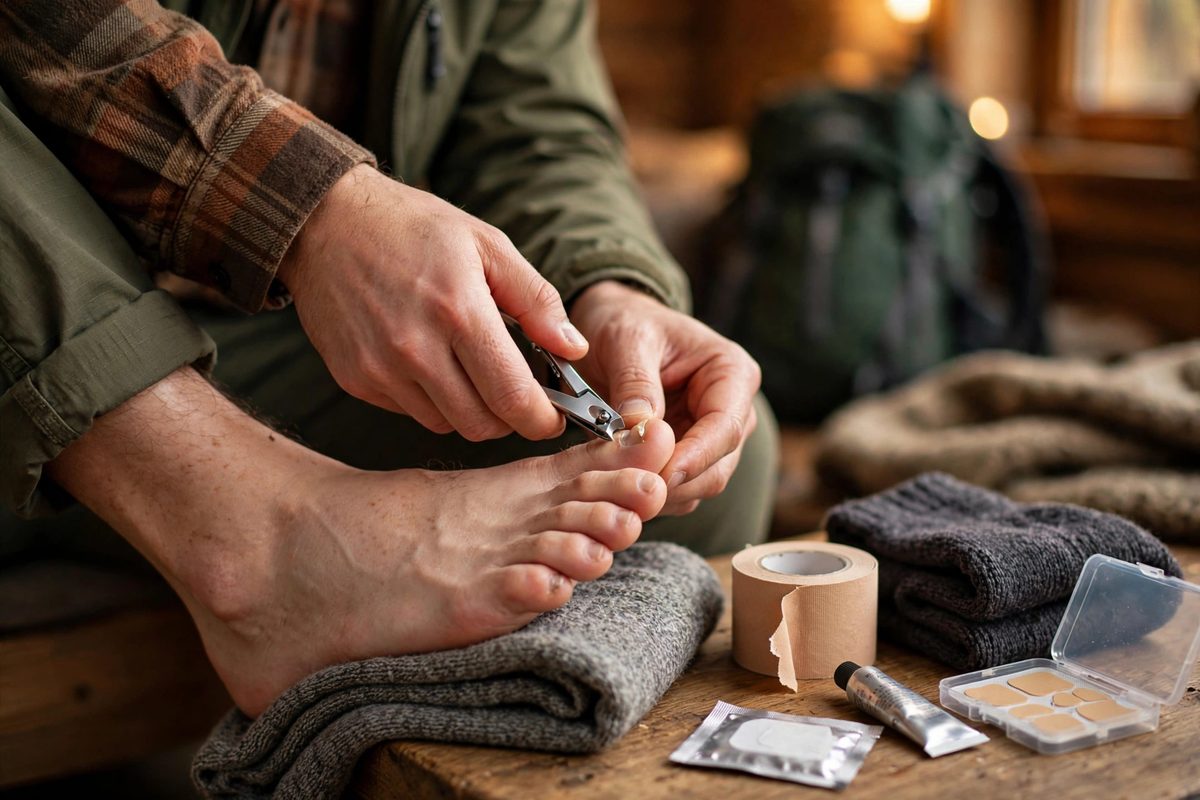
Trim your toenails a day or two before a long hike — short and straight across, not rounded into the corners. Long nails press into the front of the boot on every descent, and the result is a bruised, blackened toenail that can take months to grow out. File any sharp edges smooth so a nail cannot catch on a sock and tear.
Calluses are your friends: the toughened skin on heels and the balls of your feet is natural blister protection, so do not file it off before a hike. Keep feet moisturised in the weeks before a trip, but skip heavy cream on the morning of the hike — soft, greasy skin rubs raw faster. And check your feet for cracks or cuts before you go; open skin and a long sweaty day are a bad combination.
9. Pack a blister first-aid kit
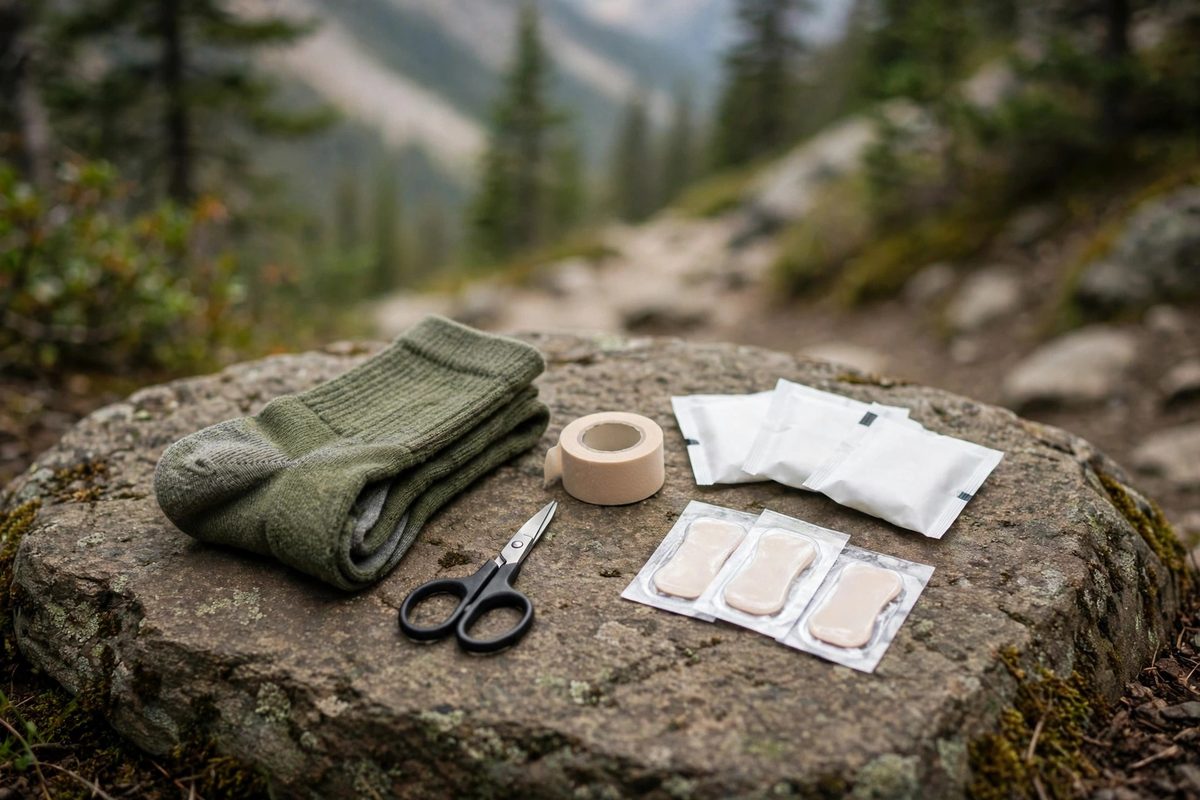
A blister kit is small, light and worth carrying on every long hike: a few blister plasters, a roll of sports tape, a sheet of moleskin, small scissors, antiseptic wipes and a spare pair of socks. Keep it in a top pocket or hip-belt pocket, not buried at the bottom of your pack — you need it the moment a hot spot appears, not at camp.
Add the kit to your packing routine the same way you add water and food. What belongs in the pack for a first night outdoors is covered in our first overnight hiking packing list, and the kit fits easily into any daypack you choose for hiking without crowding out the rest of your gear.
10. After the hike: recovery and blister care
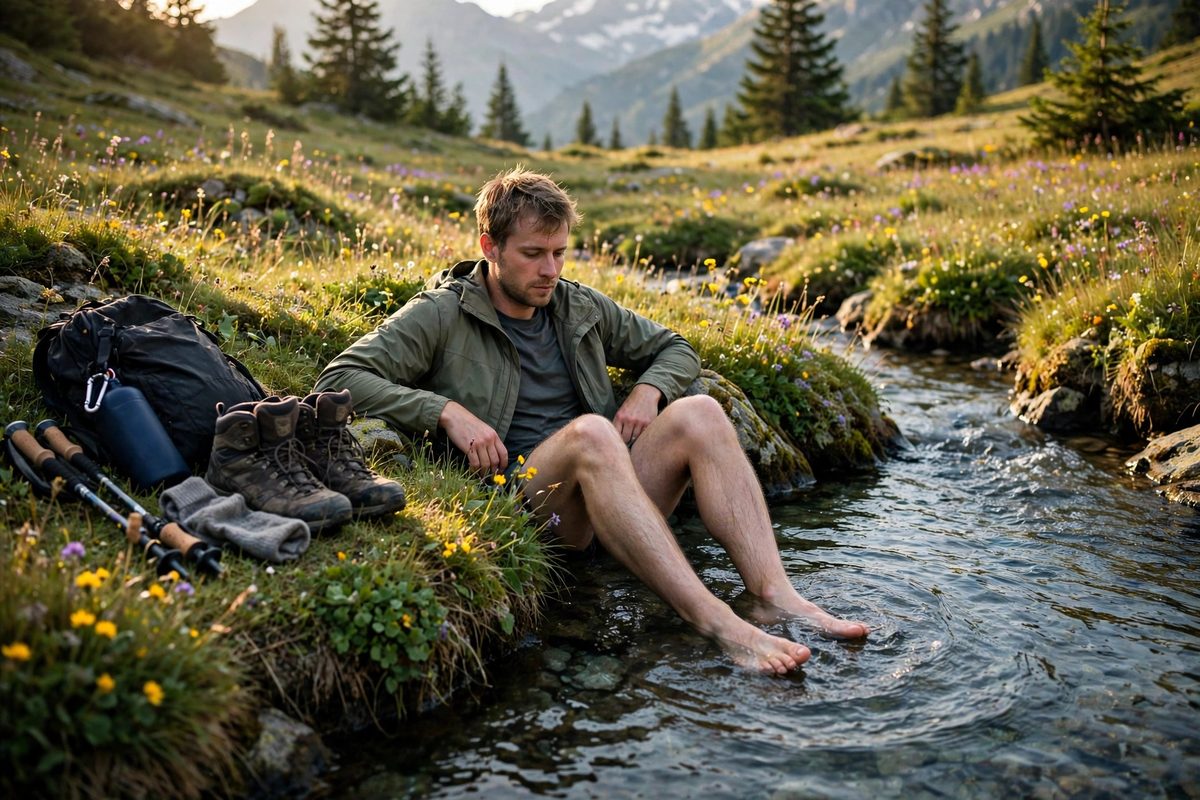
When the hike is over, wash your feet with soap and clean water, dry them well and let them air out. Small blisters are best left alone: the skin roof protects the raw skin underneath, so cover it with a plaster and let it heal. A large, painful blister that stops you walking can be drained with a clean, sterilised needle at the edge, keeping the skin roof in place — then cover it and keep it clean.
Watch for signs of infection over the next few days: spreading redness, swelling, warmth or pus, or a fever. Any of those means a visit to a doctor, not another hike. Give sore feet a day or two of rest before the next long walk, and use the time to work out what caused the problem — the wrong socks, a loose heel, a missed hot spot — so the next hike starts better. Trekking poles take load off your feet on steep descents and are worth considering if sore feet are a regular problem.
Frequently asked questions
What causes blisters when hiking?
Friction, heat and moisture together. A boot that moves against the foot rubs the same spot again and again, damp skin softens and separates, and a blister forms. Poor boot fit, cotton socks and wet feet make it far more likely.
Should I pop a blister?
Usually no. Leave small blisters intact — the skin roof protects the raw skin below and lowers the risk of infection. Only drain a large, painful blister that stops you walking, with a clean needle at the edge, then cover it and keep it clean.
Do liner socks really help prevent blisters?
Yes. A thin liner sock moves with your foot while the outer hiking sock stays still, so friction happens between the two socks instead of between sock and skin. It is the cheapest, most reliable blister fix there is.
How do I tape my feet for hiking?
Apply sports tape or moleskin to clean, dry skin over the spots that rub — usually heels and toes. Smooth it flat with no wrinkles, round the corners, and tape before you start walking, not after a hot spot appears.
How long does a blister take to heal?
A small blister usually heals in a few days if you keep it clean, dry and covered. Larger blisters can take a week or more. Rest the foot, wear shoes that do not rub the spot, and watch for signs of infection.
Are blisters worse in wet conditions?
Yes. Wet skin softens and blisters much faster than dry skin. Rain, stream crossings and sweaty feet all raise the risk, which is why dry socks, breathable footwear and airing your feet out matter so much.
What socks are best to prevent blisters?
A cushioned merino wool hiking sock over a thin synthetic liner sock. Merino wicks sweat and cushions the foot, and the liner takes the friction. Avoid cotton socks — they hold moisture and rub.
Useful Sources and Verification
Use these source types to check current details for the area you plan to visit.
- Current foot-care and blister guidance from outdoor medicine and hiking associations
- Manufacturer fit and care guidance for the boots and socks mentioned in this guide
- Trail conditions, stream crossings and seasonal weather from the managing authority for the area you plan to visit