
A practical guide to hiking layering system, with a clear decision path, route-aware checks, and a repeatable plan that does not depend on a universal winner.
A hiking layering system uses three layers: a base layer that moves sweat away from skin, an insulation layer that traps warmth for stops and slow sections, and a shell that blocks wind and rain. The skill is adjusting the layers before you get too hot or too cold, not after.
Affiliate disclosure: some retailer links may earn a commission. This does not change the evidence boundaries or the need to verify current product, variant, price, availability, warranty, and return details.
The base layer: sweat management first
The base layer sits next to your skin and moves sweat away from it, which keeps you dry and comfortable during effort. Merino wool and synthetic fabrics both do this well. Merino is softer, warmer when damp, and resists odour on multi-day trips, while synthetics dry faster and cost less. Cotton is the one fabric to avoid, since it holds moisture and chills you.
Fit matters for a base layer. It should sit close to the skin without being tight, so it can wick moisture efficiently and move with you. A loose base layer cannot move sweat, and a tight one restricts movement and feels clammy. Try the base layer with the insulation you plan to wear over it.
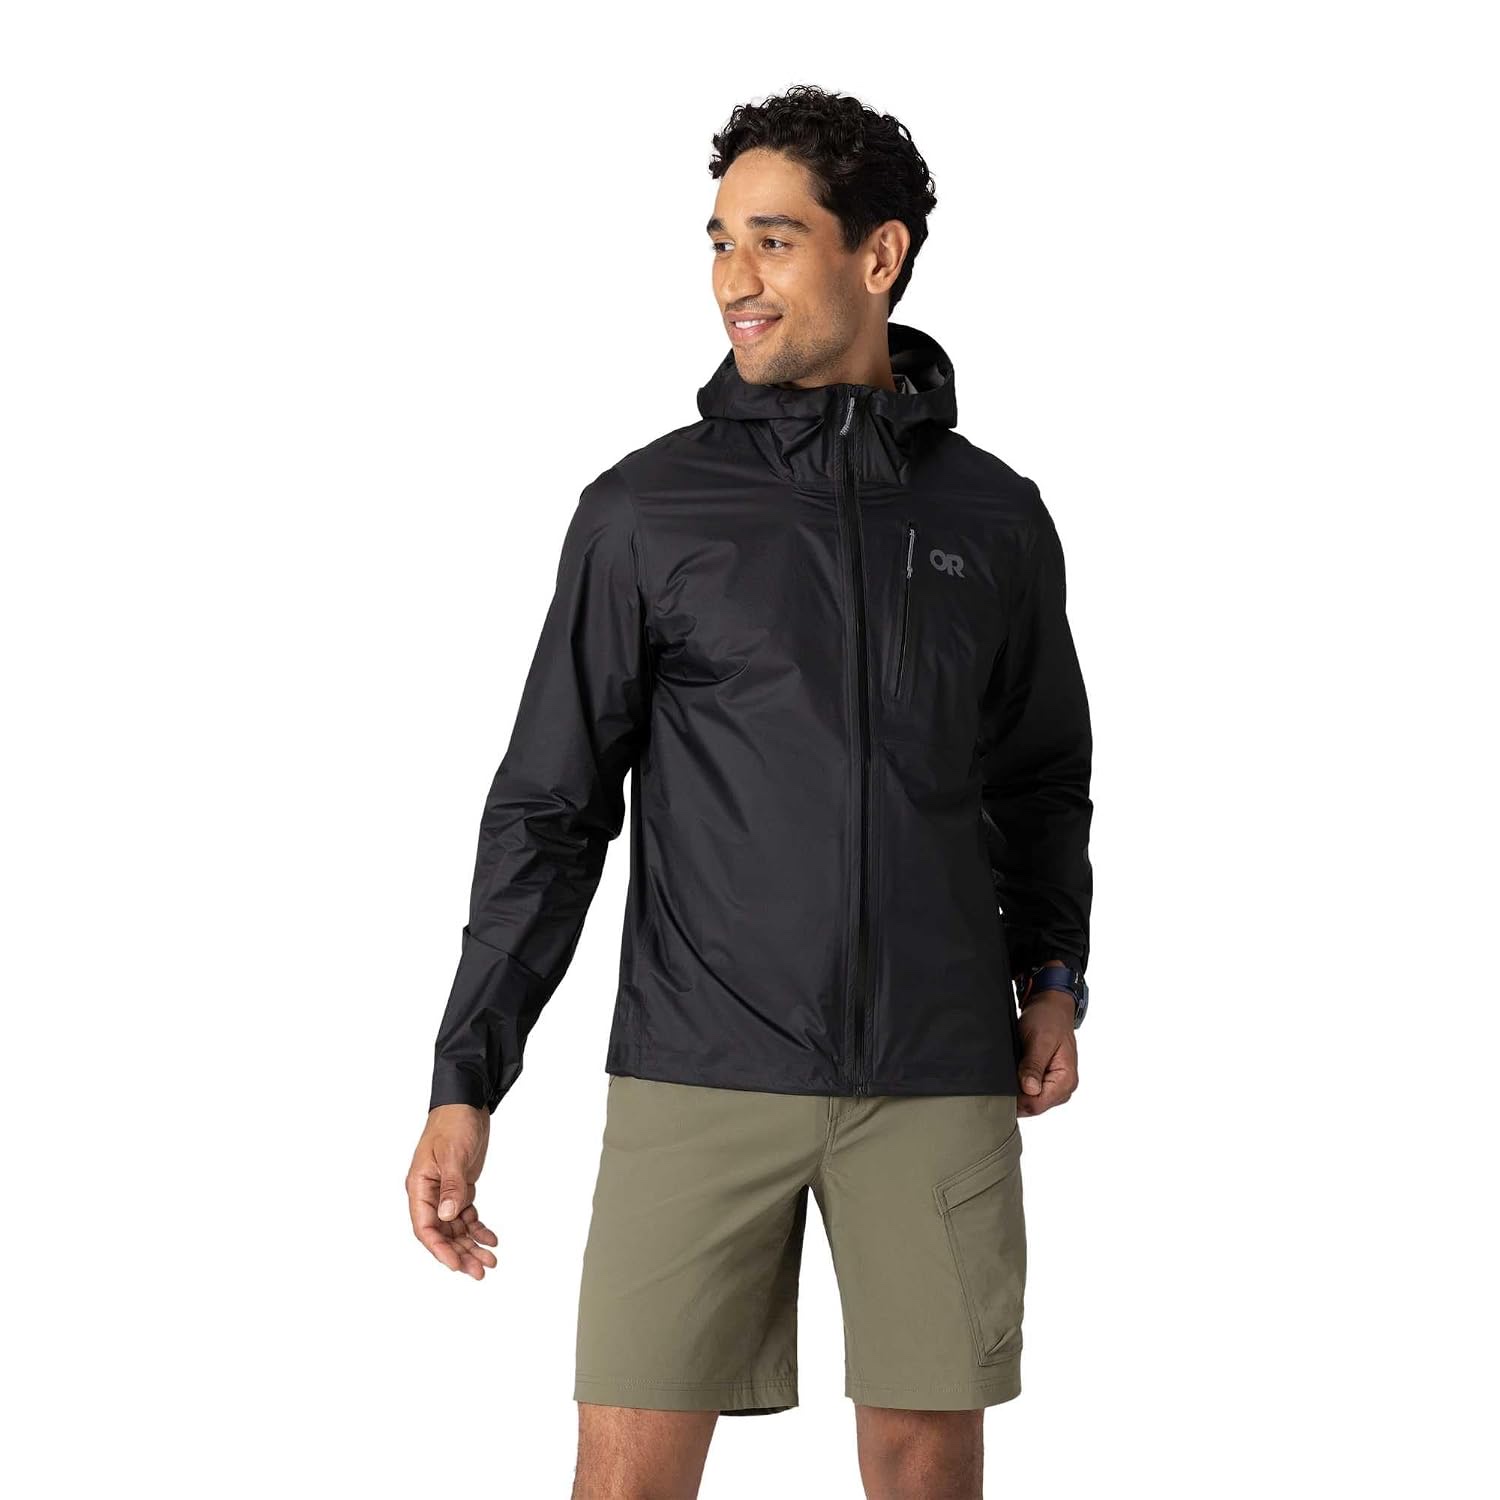
Outdoor Research Men's Helium UL Jacket
Best for: Day hikers and backpackers who want a dependable emergency layer for changing forecasts.
A lightweight rain shell for hikers who need packable weather protection without carrying a bulky hard shell.
The base layer: sweat management first
- Packable waterproof shell format
- Lightweight emergency layer
- Useful for wind and rain protection
- You need a heavy winter shell, maximum abrasion resistance, or a soft casual jacket.
Insulation: when to add warmth
Insulation traps warm air around your body, and you need it most when you stop moving. On a climb, your body generates its own heat, but at a rest stop, on a descent, or in camp, that heat fades quickly. A packable insulated jacket that you can pull on in seconds is one of the most valuable items in a layering system.
The habit to build is adding insulation before you get cold, not after. Put the jacket on when you stop, not when you are already shivering, and take it off before you start climbing again. That timing keeps your temperature steady and prevents the sweat-and-chill cycle that makes hiking uncomfortable.
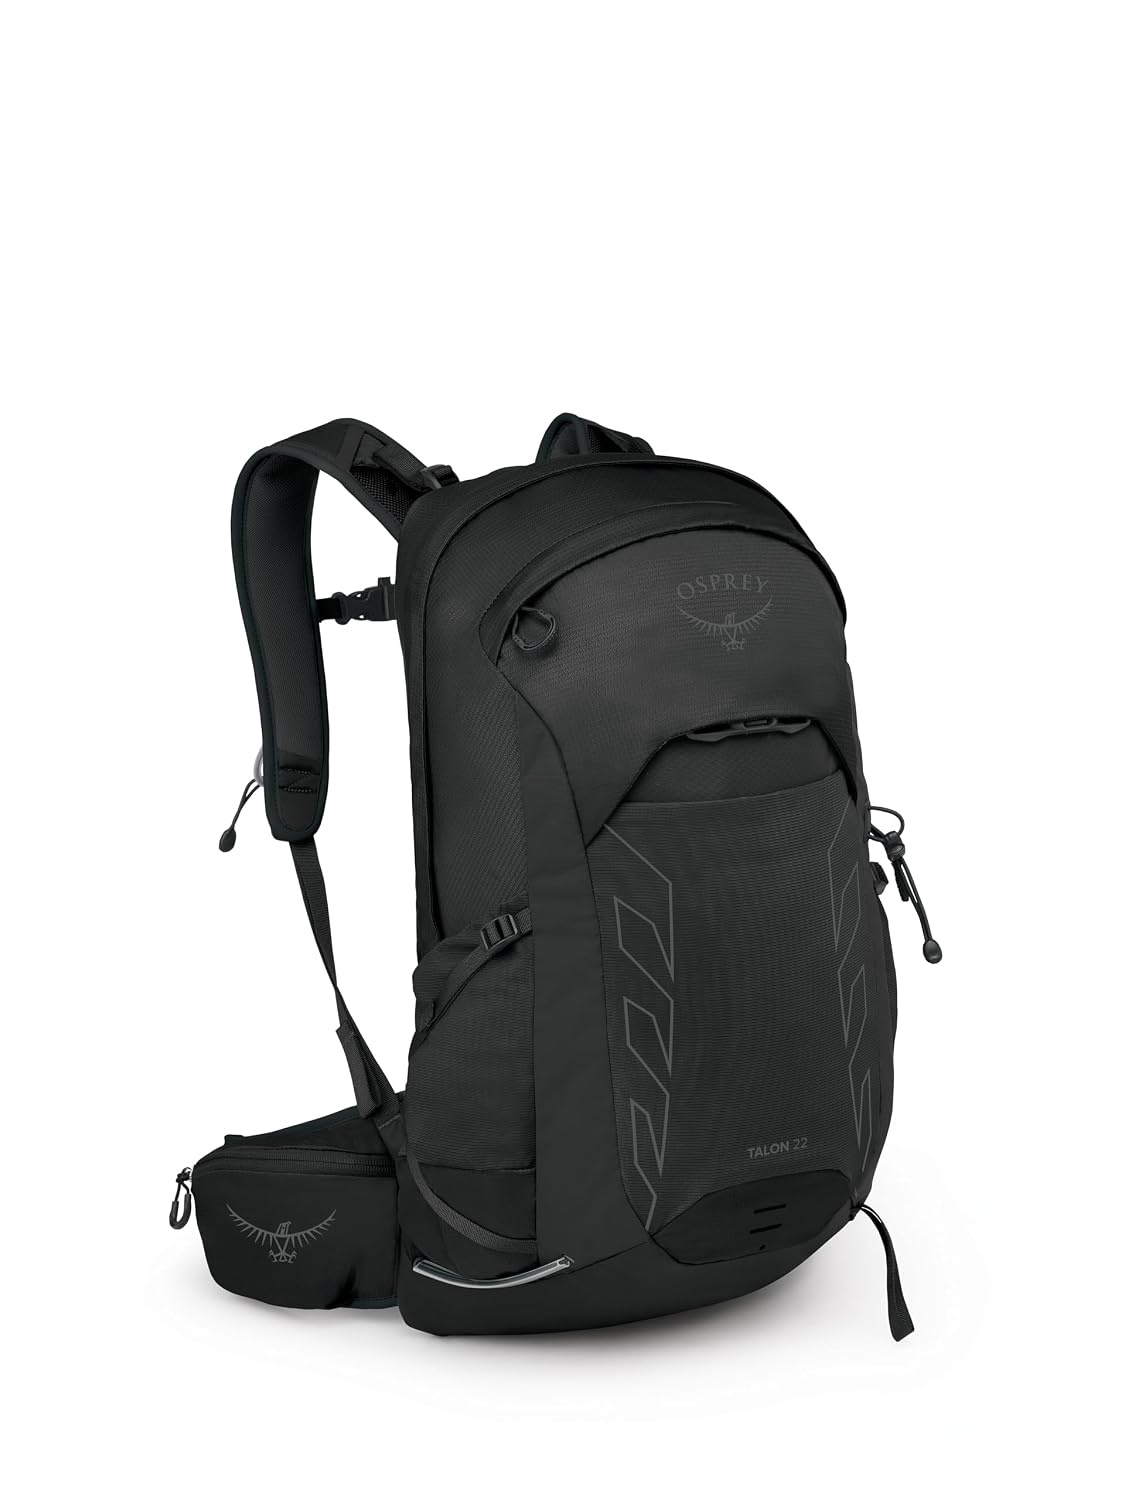
Osprey Talon 22
Best for: Day hikers carrying layers, water, and a light lunch who want a close, flexible fit.
A ventilated daypack for hikers who want a stable carry without turning a short route into an expedition.
Insulation: when to add warmth
- 22-liter day-hike format
- Close-to-body harness with adjustable torso
- Useful organization for layers and small essentials
- You need a framed overnight pack, a very minimal summit vest, or a fully waterproof shell.
The shell: wind, rain, and ventilation
The shell blocks wind and rain, and it is the layer you reach for when the weather turns. A good shell keeps you dry in a downpour and cuts the wind chill on an exposed ridge, and it should pack small enough to live in your pack on every hike. Wind protection alone is worth carrying, since a cold wind on a sweaty climb strips heat fast.
Ventilation is the shell's weakness, since keeping rain out also slows moisture escaping from inside. Manage it by opening the front zip when the rain eases, using pit zips if your jacket has them, and slowing down on climbs. A shell is a tool for rain and wind, not a default outer layer.
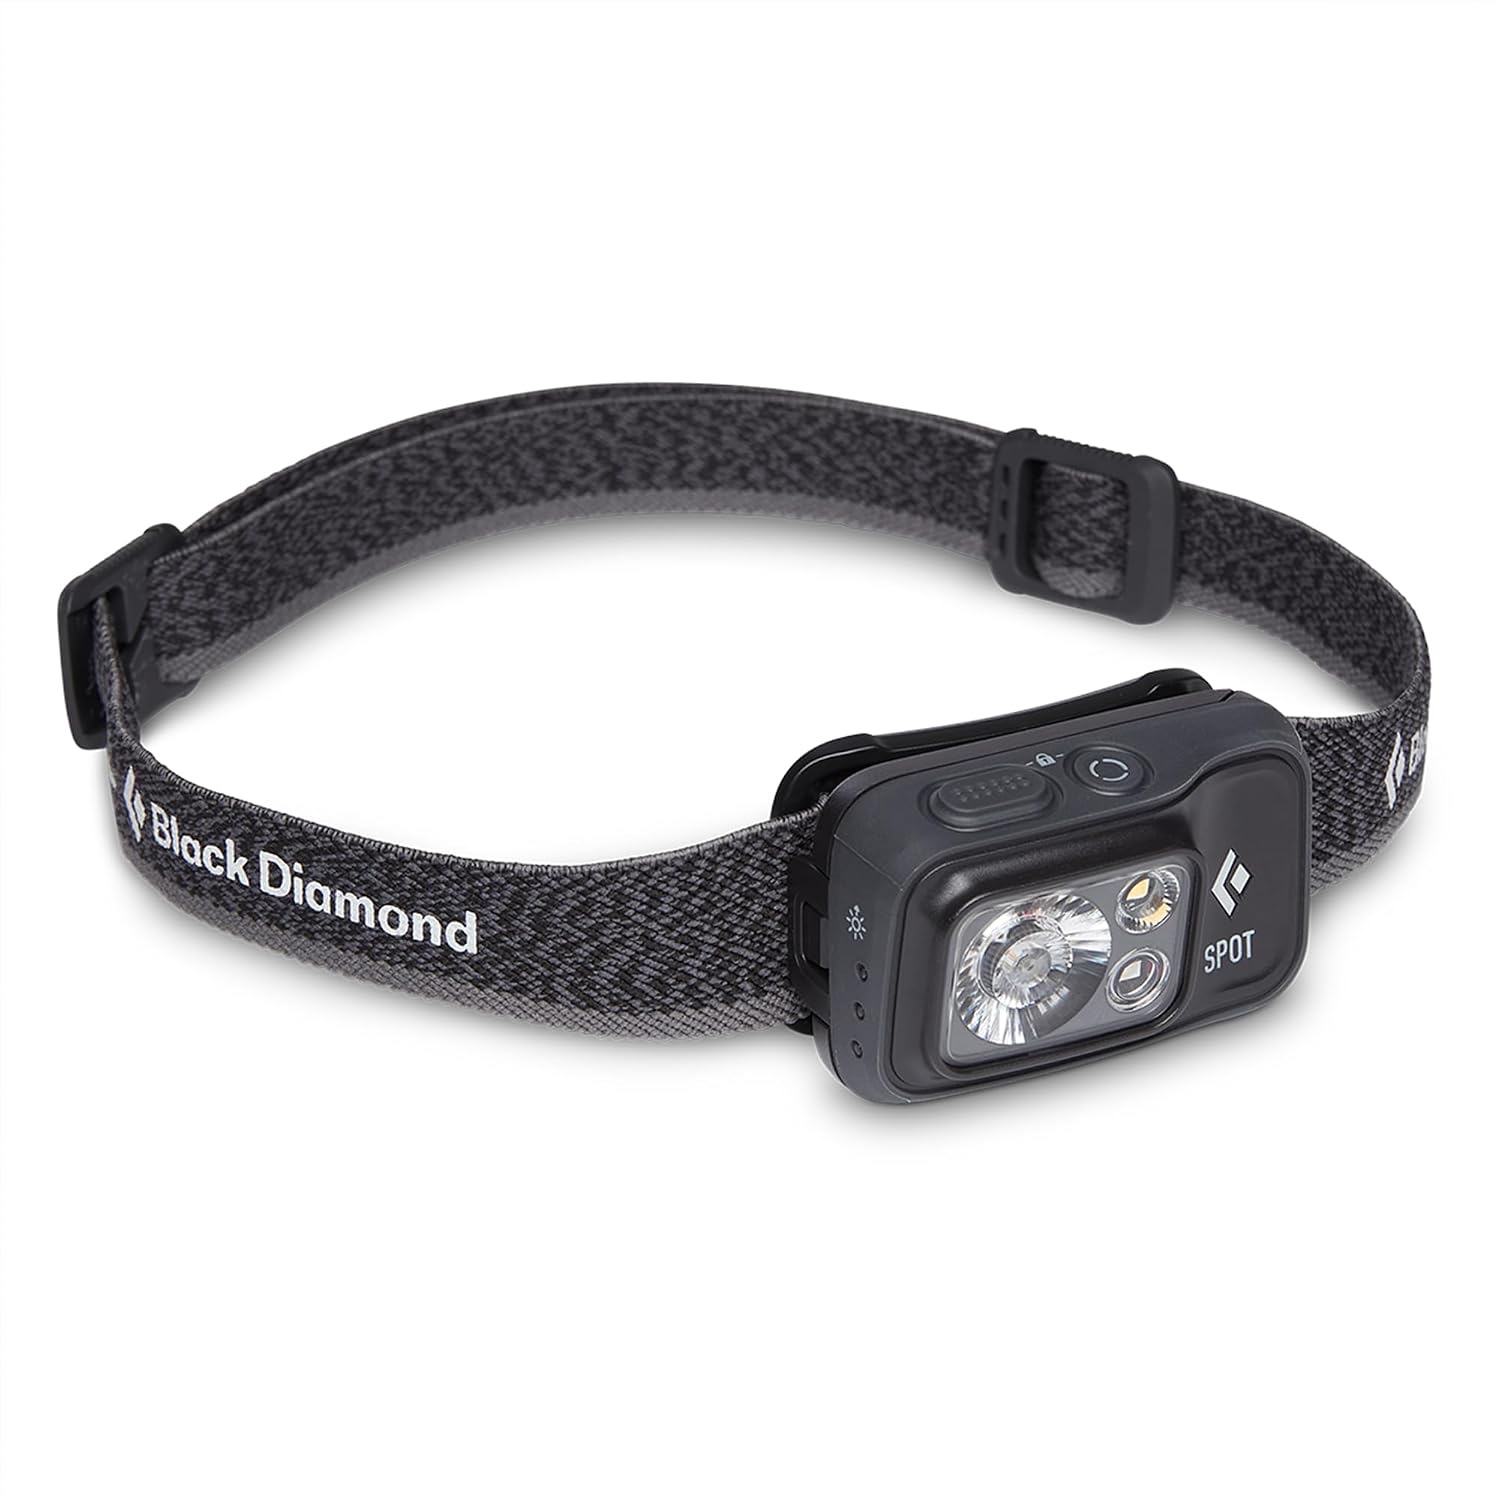
Black Diamond Spot 400
Best for: Every hiker who wants a reliable light with useful brightness and a small pack footprint.
A compact headlamp for early starts, late finishes, camp chores, and emergency visibility.
The shell: wind, rain, and ventilation
- Multiple brightness modes
- Compact trail-ready body
- Useful red-light and emergency modes
- You need a high-output expedition light or a rechargeable-only system.
Adjusting on the move: the thermostat habit
The core layering skill is adjusting before you need to, not after. When you feel yourself warming up on a climb, open a zip or push back your hood before you start sweating. When you feel a chill at a rest stop, add the insulation layer before you get cold. Small, early adjustments keep your temperature steady.
Think of your layers as a thermostat with several settings, not an on-off switch. A half-open zip, a hood up or down, and cuffs loosened or tightened are all small adjustments that add up to real temperature control. The hikers who stay comfortable are the ones who adjust often and early.
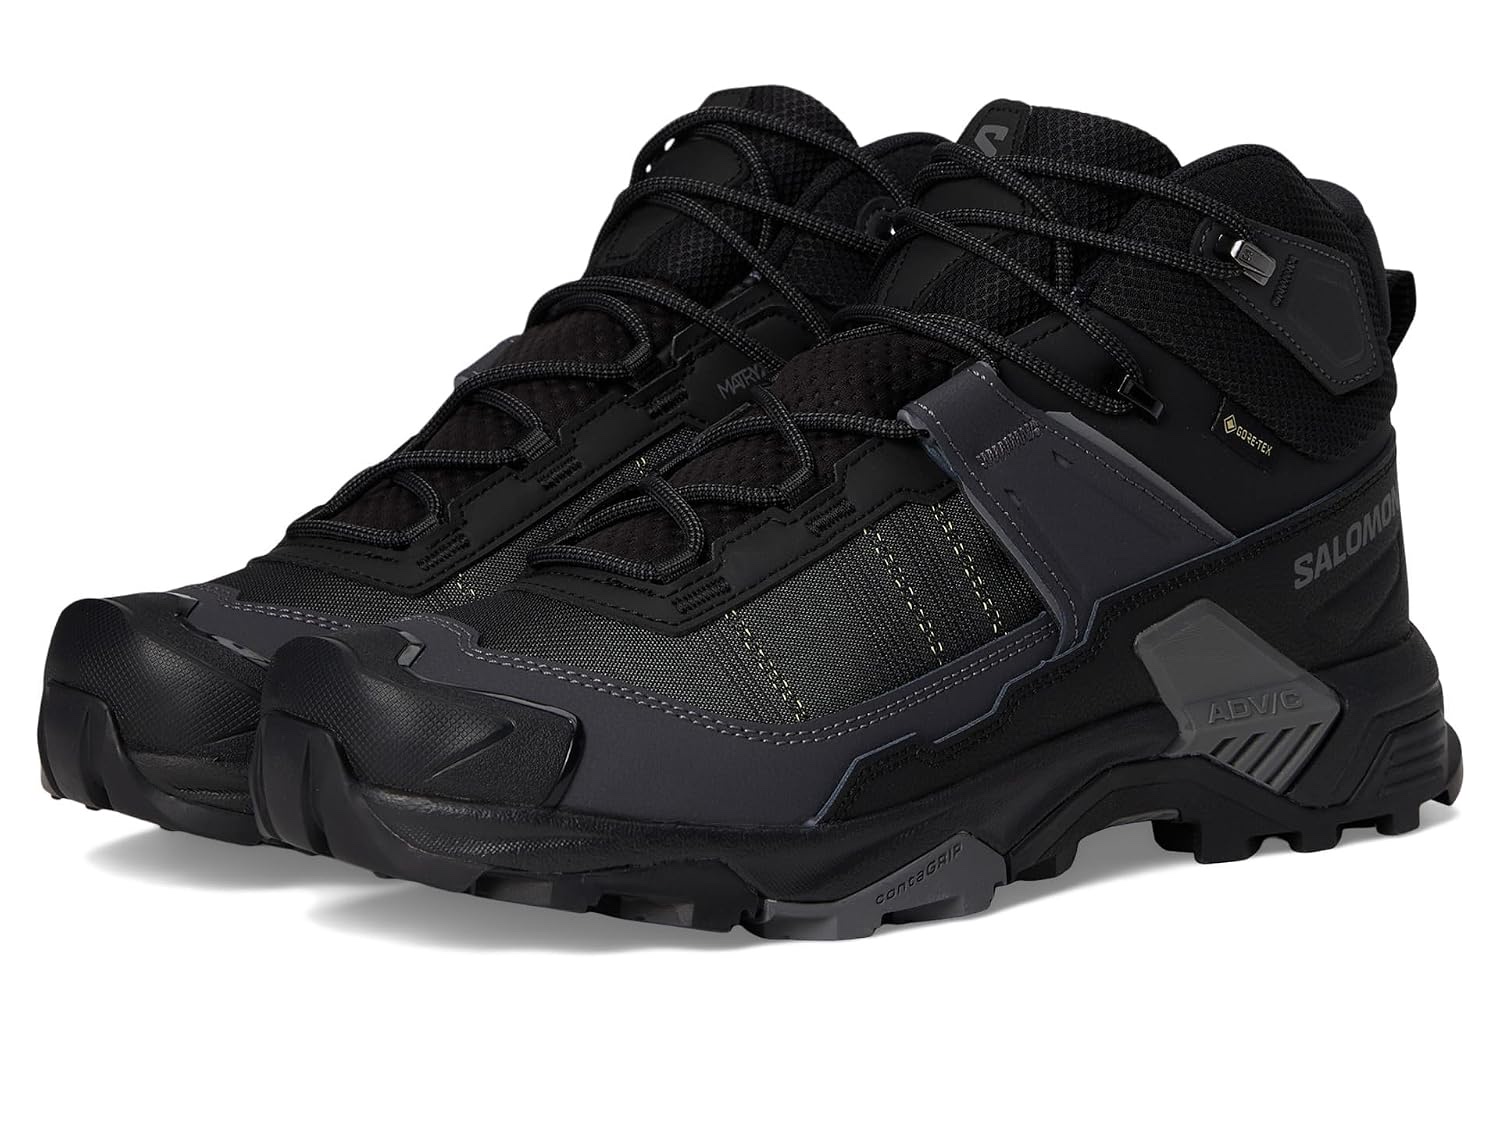
Salomon X Ultra 5 Mid GTX
Best for: Day hikers needing wet-weather protection and a secure foothold on uneven trails.
A supportive waterproof hiking shoe for mixed terrain, wet mornings, and hikers who prefer agility over a heavy boot.
Adjusting on the move: the thermostat habit
- Mid-height waterproof construction
- Aggressive trail outsole
- Hiking-shoe weight with added ankle coverage
- You want a soft road-running feel, wide unstructured toe space, or a non-waterproof summer shoe.
A sample layering setup for three seasons
For spring through autumn, a practical setup is a merino or synthetic base layer, a lightweight insulated jacket, and a packable rain shell, plus a warm hat and gloves for stops. That combination covers cool mornings, warm midday climbs, windy ridges, and rain showers, and it packs small enough for a daypack.
In summer, you may drop the insulation layer and carry only the base layer and shell. In late autumn, you may add a warmer insulation layer and a heavier base layer. The system scales with the season, and the pieces you already own can be rearranged to match the forecast.
A practical decision table
| Layer | Primary job | Decision question |
|---|---|---|
| Base | Manage moisture and next-to-skin comfort | Will it stay comfortable when effort rises? |
| Insulation | Keep warmth during slower movement | Can it be added without stopping for long? |
| Shell | Block wind and rain | Can you vent or adjust it as conditions change? |
| Spare strategy | Protect the system during a delay | What remains dry if the forecast is wrong? |
Frequently asked questions
What are the three layers for hiking?
A base layer that moves sweat away from skin, an insulation layer that traps warmth, and a shell that blocks wind and rain. Each layer does one job, and together they cover a wide range of conditions.
Should I choose merino wool or synthetic base layers?
Merino is softer, warmer when damp, and resists odour, which suits multi-day trips. Synthetics dry faster and cost less. Avoid cotton, which holds moisture and chills you.
When should I add my insulation layer?
When you stop moving, before you get cold. Put the jacket on at rest stops, on descents, and in camp, and take it off before you start climbing again. Adding warmth early prevents the sweat-and-chill cycle.
How do I stop sweating inside my rain jacket?
Ventilate early: open the front zip, push back the hood, and use pit zips if your jacket has them. Slow down on climbs, and use the shell for exposed sections rather than the whole climb.
Do I need a shell if the forecast is dry?
Yes, if it packs small. Forecasts change, especially in the mountains, and a packable shell weighs almost nothing. The best shell is the one that is in your pack when the weather turns.
What layers do I need for winter hiking?
A warmer base layer, thicker insulation, a windproof shell, and protection for hands, head, and feet. Start cold, since you will warm up once moving, and add layers at stops before you get chilled.
Useful Sources and Verification
Use these source types to verify current details before buying or publishing a recommendation.
- Current official manufacturer documentation for any product, material, technical limit, or safety instruction mentioned
- Current retailer or service documentation for availability, variant, warranty, returns, subscriptions, or consumables
- Independent review patterns used as context and clearly separated from firsthand testing